Your kitchen is arguably one of the most important rooms in your home. It’s the epicentre where nourishment is prepared, your family gathers for meals, and many important celebrations happen.
It’s also a room that can quickly turn from a source of joy to a source of stress if it becomes messy, with bacteria breeding around yesterday’s leftovers and mystery stains lurking in the sink.
Staying on top of your kitchen’s cleaning needs is essential for fostering a happy and healthy home. Does reading the words “deep cleaning session” make your eyes glaze over in disinterest already?
Don’t tune out just yet! Proper kitchen hygiene doesn’t have to be complicated, painfully tedious or time-consuming.
Just carving out 10 or so minutes each day to tidy up, a few routine cleaning sessions per week, and tasks during one weekend day a month is all you need to keep every surface in your cooking space sparkling from the stove to the refrigerator.
With our comprehensive plan broken down covering what must be done:
- Daily to avoid scary bacterial buildup
- Weekly, so grime and gunk don’t set in.
- And monthly to leave no corner or crevice untouched…
you’ll have a clear blueprint for maintaining a spotless and sanitary kitchen that will pass any health inspection without breaking a sweat.
Let’s get started..!
Key Takeaways
- Gather all necessary cleaning supplies and protective gear before starting the deep clean.
- Declutter and organize your kitchen to make the cleaning process more efficient.
- Use specific cleaning supplies for different surfaces, such as multipurpose cleaners for countertops and degreasers for stubborn grease buildup.
- Follow step-by-step instructions to clean specific areas, such as countertops, sinks and faucets, and appliances like the stove, oven, and refrigerator.
Why Is It Imperative to Clean Your Kitchen Regularly?
Thorough and frequent kitchen cleaning is vital for proper food safety and hygiene. Without regular cleaning, grease residue, food debris, and other dirt and spills can quickly accumulate on kitchen surfaces and appliances.
- Frequent and thorough cleaning eliminates the spread of dangerous pathogens like Salmonella and E.coli, which cause food poisoning and lead to vomiting, diarrhoea, and fever.
- Allowing grease, crumbs, and sticky spills to accumulate provides breeding grounds for harmful bacteria and attracts pest infestations such as cockroaches and mice.
- Dirty dishes, grimy ovens, greasy stovetops, and limescale buildup worsen over time without regular cleaning.
- Deep cleaning kitchen surfaces weekly and daily tasks like wiping counters prevent potentially hazardous pathogens and allergens from thriving.
- Proper disinfecting of sinks, appliances, kitchen tools, cutting boards, etc., limits the spread of bacteria and cross-contamination.
- Cleaning floors removes fallen food that can promote mould, bacteria, and vermin issues if left unchecked.
- Taking out trash frequently, wiping spills quickly, and not allowing dirty dishes to pile up help maintain kitchen hygiene.
- Regular cleaning protects family members from nausea, fever, stomach pains and other foodborne illnesses.
Dedicating time weekly, daily, and regularly to cleaning kitchen surfaces, appliances, tools, and linens preserves safe food preparation conditions for the family and prolongs the longevity of expensive kitchen equipment.
Prepare Your Kitchen for a Deep-Cleaning
Before cleaning your kitchen thoroughly, gather all the necessary cleaning supplies. Everything you need will make the process more efficient and ensure you don’t have to interrupt your cleaning flow to search for items.
Start by collecting cleaning solutions such as multipurpose, windows, and degreasers. You’ll also need cleaning tools like microfiber cloths, sponges, scrub brushes, and a vacuum cleaner with attachments for those hard-to-reach areas.
Next, gather your protective gear to keep yourself safe during cleaning. This includes gloves to protect your hands, a mask to prevent inhaling dust or fumes, and goggles to shield your eyes from splashes or debris. Safety should always be a top priority when cleaning.
Once you have all your supplies ready, it’s time to declutter your kitchen. Remove items from countertops, tables, and shelves, and place them in designated areas to make cleaning easier. This will also give you a chance to organize your kitchen and get rid of any unnecessary items.
Essential Cleaning Supplies and Right Tools for Your Kitchen
Ensure you have all the essential cleaning supplies necessary for your kitchen cleaning. These supplies are vital for achieving a thorough and efficient cleaning process.
A multipurpose cleaner is a versatile product used on various surfaces, such as countertops, stovetops, and appliances. Look for a cleaner that effectively removes grease, grime, and stains.
Sponges are essential for scrubbing and wiping down surfaces. Choose sponges with a scrubbing side for tough stains and a soft side for delicate surfaces. Microfiber cloths are excellent for dusting and polishing. They are highly absorbent, lint-free, and leave surfaces streak-free.
Consider having a degreaser on hand for stubborn grease buildup on kitchen surfaces. Dish soap is another essential item for cleaning dishes and utensils. Don’t forget to use gloves to protect your hands from harsh chemicals and hot water.
Keep a trash bag nearby for easy disposal of waste. Having these essential cleaning supplies ready ensures a cleaner and healthier kitchen environment.
Cleaning Kitchen Countertops and Surfaces
Start by wiping down all the kitchen countertops and surfaces and removing food crumbs or spills. This will create a clean and hygienic space for you to work in.
Here is a step-by-step guide:
- Gather your cleaning supplies: Grab a microfiber cloth or sponge, a multipurpose cleaner, and warm water. Having all your supplies ready will make the process more efficient.
- Clear the countertops: Remove any items, such as appliances, utensils, or decor, from the countertops. This will allow you to clean every inch thoroughly.
- Spray and wipe: Apply the multipurpose cleaner on the countertops and surfaces, and then use a cloth or sponge to wipe them down. Make sure to clean all areas, including corners and edges.
- Rinse and dry: After wiping down the countertops and surfaces, rinse the cloth or sponge with warm water and go over the area again to remove any residue. Finally, dry the countertops with a clean and dry cloth to prevent water spots.
Tackling the Kitchen Sink and Faucets
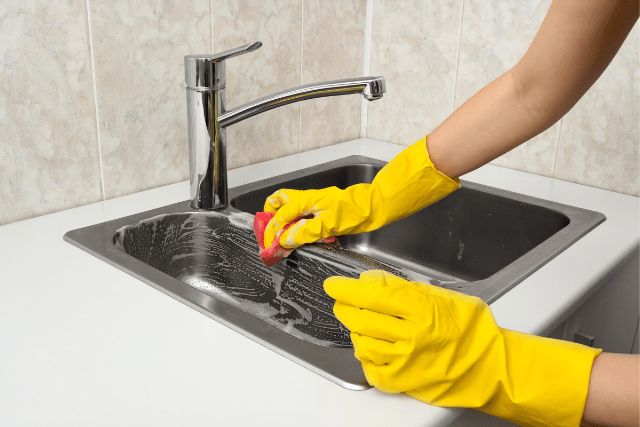
Clean the kitchen sink and faucets thoroughly to ensure they are free from dirt and grime. The sink and faucets in your kitchen are constantly exposed to food particles, soap scum, and hard water stains.
To keep them clean and hygienic, follow these steps:
- Start by removing dishes or utensils from the sink and rinsing loose debris.
- Use a gentle cleaner or a mixture of warm water and dish soap to scrub the sink basin. Pay special attention to the corners and drains.
- Create a paste with baking soda and water for stubborn stains or mineral deposits. Apply it to the affected areas and let it sit for a few minutes before scrubbing with a sponge or brush.
- Wipe down the faucets with a damp cloth or sponge to remove any residue. Use a toothbrush or cotton swab to clean hard-to-reach areas.
- To add extra shine, polish the faucets with equal vinegar and water.
- Finally, rinse the sink and faucets with clean water and dry them thoroughly with a soft cloth.
Dealing With Appliances
Before moving on to the next step, take a moment to carefully assess the condition of your stove, oven, and microwave. These appliances can accumulate grease and food spills and splatter over time, so cleaning them thoroughly is important.
Here’s how you can tackle each appliance:
Stove:
- Start by removing the grates and burner covers.
- Soak them in warm, soapy water while you clean the rest of the stove.
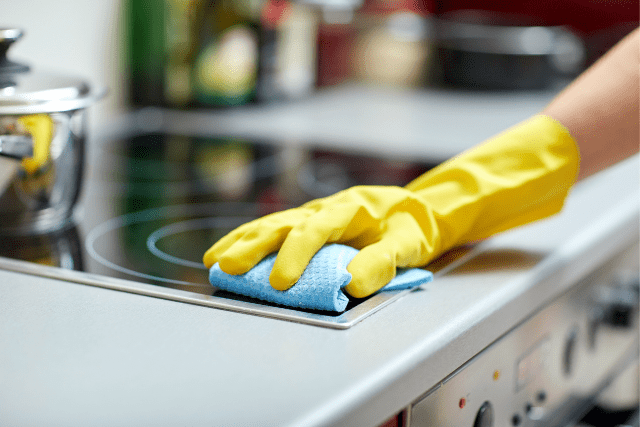
- Wipe the stovetop with baking soda and water using a sponge or cloth.
- Scrub away any stubborn stains or grease spots.
- Clean the knobs and control panel with a damp cloth.
- Finally, dry and replace the grates and burner covers.
Oven:
- Remove the oven racks and soak them in a sink filled with warm, soapy water.
- Use a damp cloth or sponge to wipe down the inside of the oven, removing any food debris or stains.
- For tough stains, apply a paste with baking soda and water to the stains and let it sit for a few hours before wiping.
- Once the inside is clean, scrub the oven racks, rinse them off, and let them dry before placing them back inside.
Microwave:
- Start by removing removable parts, such as the turntable and microwave-safe dish.
- Wash them in warm, soapy water and set them aside.
- Wipe down the inside of the microwave with a damp cloth or sponge, removing any food splatters or stains.
- For stubborn stains or odours, heat a bowl of water with a few slices of lemon or a tablespoon of vinegar inside the microwave for a few minutes. This will help loosen the stains and eliminate odours.
- Once you’re done, dry the inside of the microwave and replace the turntable and dish.
Dishwasher:
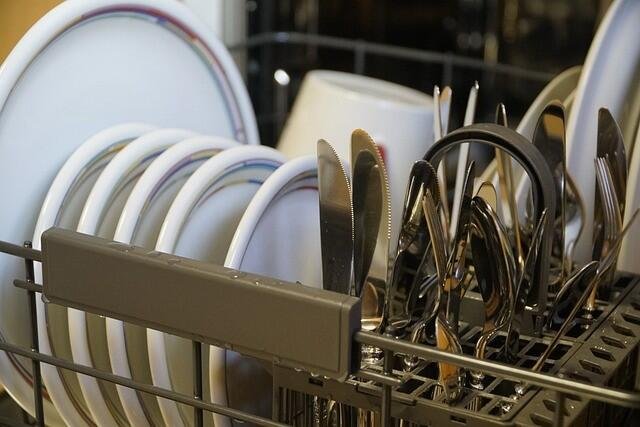
- Start by removing any food debris from the dishwasher filter and removing any removable parts, such as the racks and utensil basket.
- Wash the removable parts in warm, soapy water and set them aside to dry.
Next, wipe down the dishwasher’s interior with a damp cloth or sponge, especially to areas with built-up food residue or stains. - Use a toothbrush or scrubbing brush to scrub away any stubborn grime gently.
- Once the interior is clean, place a dishwasher-safe bowl filled with white vinegar on the top rack of the dishwasher and run a hot water cycle. This will help to remove any lingering odours and disinfect the dishwasher.
- Finally, replace the removable parts and run a rinse cycle to ensure the dishwasher is clean and ready for use.
Refrigerator and Freezer Cleaning Guide
Take a moment to assess the condition of your refrigerator and freezer, as they can accumulate spills, expired food, and unpleasant odours over time. It’s crucial to clean and maintain these appliances regularly to ensure food safety and prevent the growth of bacteria. Follow this guide to keep your appliances in excellent condition.
Begin by emptying both the refrigerator and freezer compartments. Check for any expired or spoiled food and discard it. Remove any removable shelves, drawers, and racks and wash them with warm soapy water.
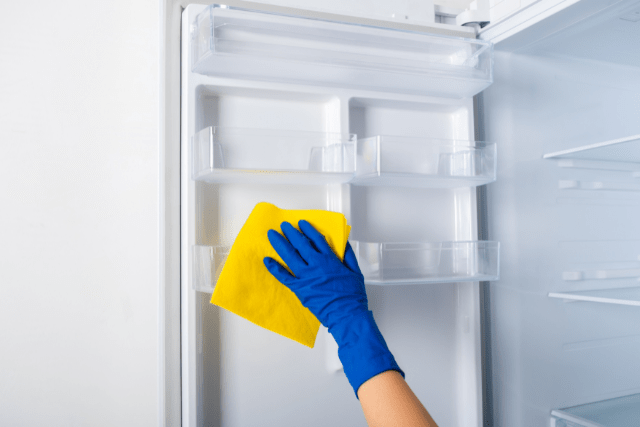
Wipe down the interior of the refrigerator and freezer with a mixture of equal parts water and vinegar to remove any stains or odours. Pay special attention to the door seals, which can harbour dirt and grime.
Next, defrost the freezer if necessary. Turn off the power and let the ice melt naturally. Avoid using sharp objects to remove the ice, which can damage the appliance. Once all the ice has melted, wipe down the interior with a cloth soaked in warm, soapy water.
Finally, clean the exterior of the refrigerator and freezer with a mild detergent and warm water. Wipe down the handles, control panels, and any other surfaces. Don’t forget to clean the condenser coils at the back of the appliance, as they can collect dust and affect the refrigerator’s efficiency.
Cleaning Tips for Kitchen Cabinets and Drawers
Start by wiping down the surfaces of your kitchen cabinets and drawers with a damp cloth, and then use a gentle cleaner to remove any grease or grime. This will help keep your cabinets and drawers looking clean and fresh.
Here are some tips to help you clean your kitchen cabinets and drawers effectively:
- Remove all items: Empty your cabinets and drawers. This will allow you to clean every nook and cranny without any obstacles in the way.
- Use the right cleaner: Choose a gentle cleaner that is safe for your specific cabinet material. Avoid abrasive cleaners that can damage the finish.
- Scrub gently: Use a soft cloth or sponge to scrub the surfaces of your cabinets and drawers. Pay special attention to areas with stubborn stains or sticky residue.
- Dry thoroughly: After cleaning, make sure to dry the surfaces completely. Moisture can lead to mould or warping, so it’s important to prevent lingering dampness.
Maintaining a Clean Kitchen Floor
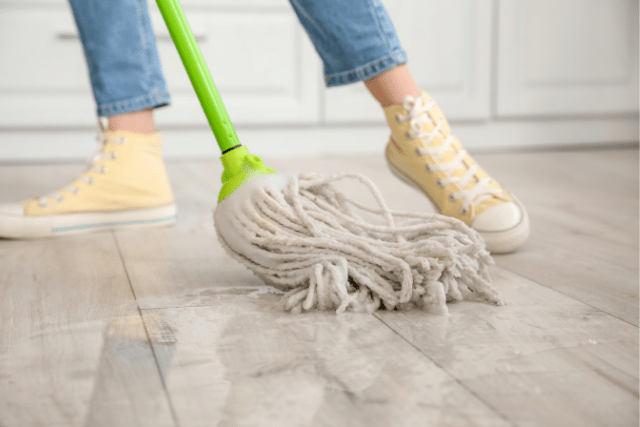
To maintain a clean and dirt-free kitchen floor, it’s important to sweep and mop regularly. Sweeping will help remove loose dirt and debris, while mopping will remove stubborn stains and spills. A consistent cleaning routine can make your kitchen floor hygienic and visually appealing.
To make this task easier, here’s a simple checklist for kitchen floor maintenance:
- Sweep: Daily or as needed. Use a broom or vacuum to eliminate loose dirt and debris.
- Mop: Weekly. Dilute a floor cleaner in warm water and mop the entire floor.
- Dry: After mopping. Use a clean, dry mop or towel to remove excess moisture.
Incorporating these steps into your cleaning routine ensures your kitchen floor remains clean and presentable. Regular sweeping prevents the accumulation of dirt and crumbs, while weekly mopping effectively tackles stains and spills. Remember to dry the floor thoroughly to prevent slips and falls.
A clean kitchen floor not only enhances the overall appearance of your kitchen but also contributes to a healthy environment. So, make it a habit to sweep and mop regularly, and enjoy a sparkling clean kitchen floor you can be proud of.
Regular Kitchen Cleaning Tasks: Daily, Weekly, and Monthly
Make it a habit to clean your kitchen daily, tackling small tasks that will keep your space tidy and hygienic. Regular maintenance is key to preventing the buildup of dirt and grime in your kitchen. Here are some tasks to incorporate into your cleaning routine:
Daily Kitchen Cleaning Tasks:
- Wipe down countertops and stovetops to remove spills or food residue after each use.
- Sweep or vacuum the floor to keep it free from crumbs and debris.
- Wash dishes and utensils promptly to prevent bacteria growth.
- Empty and clean the trash can to avoid unpleasant odours and pests.
Weekly Kitchen Cleaning Tasks:
- Clean the inside and outside of your refrigerator, removing expired food and wiping down shelves and drawers.
- Scrub the sink and faucet to remove any buildup of soap scum or grime.
- Dust and wipe down all surfaces, including cabinets, appliances, and light fixtures.
- Mop the floor to remove any stubborn stains or spills.
Monthly Kitchen Cleaning Tasks:
- Deep clean your oven, removing any baked-on food or grease.
- Describe and clean your coffee maker or kettle.
- Wash and sanitize your cutting boards to prevent cross-contamination.
- Clean the exhaust fan and vent to remove grease and improve air circulation.
Troubleshooting Common Kitchen Cleaning Challenges
Tackle stubborn stains and grease by using specialized cleaning products and techniques. Try mixing baking soda and water for tough stains on your kitchen countertops.
Apply a paste to the stain, letting it sit for a few minutes before scrubbing it away with a sponge or cloth. A degreaser designed for kitchen surfaces is your best bet for grease stains on your stovetop or range hood.
Spray the degreaser onto the affected area and let it sit for a few minutes to break down the grease before wiping it away.
A commercial oven cleaner can be very effective when dealing with burnt-on food or grease in your oven. Follow the product instructions and ensure the area is ventilated well. A mixture of vinegar and water can work wonders for built-up grime on your kitchen appliances. Spray the solution onto the surface and wipe it clean with a cloth.
Don’t forget about your kitchen sink! If you’re dealing with a clogged drain, a combination of baking soda and vinegar can help to dissolve the blockage. Pour half a cup of baking soda down the drain, followed by half a cup of vinegar.
Let the mixture sit briefly before flushing it with hot water. Regularly cleaning your kitchen sink with a mild abrasive cleaner can also help prevent clogs and keep it fresh.
Frequently Asked Questions
Why is it important to clean the kitchen regularly?
Thorough cleaning is crucial for kitchen hygiene and food safety. Grease, crumbs and spills easily accumulate and cleaning counters, appliances, sinks and floors regularly will help prevent bacteria growth and prolong the life of your kitchen.
How Often Should I Clean My Kitchen Cabinets and Drawers?
You should clean your kitchen cabinets and drawers at least once a month to free them from dirt, dust, and grime. Regular cleaning helps maintain their appearance and prevents the buildup of germs and bacteria.
Cleaning your kitchen cabinets and drawers at least once a month is crucial to maintaining their cleanliness and hygiene. This will ensure they are free from dirt, dust, and grime. Regular cleaning not only helps in maintaining their appearance but also prevents the accumulation of germs and bacteria.
What Is the Best Way to Clean Stainless Steel Appliances?
Wipe stainless steel appliances with a damp cloth and mild detergent to clean them down. Use a microfiber cloth afterwards to buff out any streaks. Avoid using abrasive cleaners and scrubbing pads.
What’s the best way to deep clean kitchen surfaces?
Use a multi-surface spray and scrub walls, floors, countertops and cabinets inside to remove grease buildup and food debris. For stuck-on spills, use baking soda or vinegar and brush before rinsing.
Can I Use Bleach to Clean My Kitchen Countertops?
Yes, you can use bleach to clean your kitchen countertops. It is an effective disinfectant that eliminates bacteria and viruses. Dilute it with water, apply it to the surface, let it sit for a few minutes, then rinse thoroughly.
How Do I Remove Stubborn Stains From My Kitchen Sink?
To remove stubborn stains from your kitchen sink, start by scrubbing the area with a mixture of baking soda and water. If the stain persists, try using a paste made from an equal mixture of vinegar and salt. Rinse thoroughly.
What Is the Recommended Frequency for Cleaning the Refrigerator Coils?
To maintain the efficiency of your refrigerator, it is recommended that you clean the coils at least twice a year. Dust and debris can accumulate over time, causing the refrigerator to work harder and consume more energy.
What should my weekly kitchen cleaning routine include?
Aim to tackle basic tasks like washing dishes, taking out trash, wiping counters/stoves, and sweeping floors about 3 times per week to keep your kitchen tidy. Deep cleaning tasks can happen monthly.
How can I create a daily kitchen cleaning checklist?
Make daily kitchen cleaning checklists with key tasks like clearing counters, doing dishes, sanitizing sinks, and wiping spills. Hang printable daily checklists on the fridge to help keep your cleaning routine consistent.
What monthly deep cleaning should I add to my kitchen schedule?
Vital monthly kitchen deep cleaning includes scrubbing floors/grout lines, cleaning the microwave, oven and fridge interior, descaling kettles, inspecting food items, wiping cabinets inside and out, and checking for any needed repairs.
Where can I find a free printable kitchen cleaning checklist?
There are many free printable kitchen cleaning checklists online that break down daily, weekly, monthly and seasonal cleaning tasks so you can keep your kitchen sparkling. Post them visibly in your kitchen for easy reference.
What common areas are often overlooked when cleaning the kitchen?
When cleaning the kitchen, it’s easy to forget less visible areas like behind appliances, sinks, greasy range hoods, sticky cabinet doors and drawer handles. Make sure to hit these areas when tidying up.
Conclusion
A step-by-step checklist can help you maintain a clean and organized kitchen space. By properly preparing your kitchen, gathering necessary cleaning supplies, and carefully addressing each area, you can ensure that your countertops, sink, appliances, cabinets, drawers, and floors are in excellent condition.
Regular cleaning, along with addressing any common challenges that may arise, will help you create a hygienic and welcoming kitchen environment. Remember, a clean kitchen looks good and promotes a healthy and enjoyable cooking experience.

